


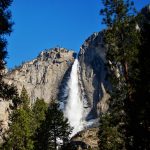
Yosemite National Park has no shortage of jaw-dropping views and challenging hikes. Upper Yosemite Falls checks both of those boxes!
The views from this trail are stunning, especially in spring when the flow volume of the waterfall is at its peak. To say we enjoyed it would be an understatement.
Trail Stats & What To Expect When Hiking Yosemite Falls
We’ll be the first to admit that this tail isn’t an easy one. We often find ourselves wrapping up a hike and questioning the easy, moderate, and or strenuous rating it’s been given- 9 times out of 10, we find that the trail has been rated way harder then it actually is. When it comes to hiking Upper Yosemite Falls that is most definitely not the case.
Upper Yosemite Falls Trail is a leg-burning, heart-pumping trek to the top of the tallest waterfall in North America and worth every single step!
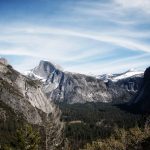
Don’t underestimate this hike. The trail is a steady and continuous uphill climb, with a soul-crushing number of switchbacks along the way. But if you’re willing to do the work you’ll be rewarded with amazing views of Yosemite Valley, Half Dome all while getting to feel the spray on your face from these massive falls as they thunder past the trail.

Trail Stats:
- Distance: 7 miles round trip to the top of the falls/ 9.9 miles to Yosemite Point
- Total Elevation Gain: 3,000 feet to the top of Yosemite Falls/ 3,700 feet to Yosemite Point
- Difficulty: Very Strenuous
- Length Of Time Needed: 6 to 8 Hours
- When To Go: Open Year Round; The falls are at their maximum flow in spring, because Yosemite Falls is fed by snowmelt high in the mountains by summer it could be nothing more than a trickle.
- Trailhead: Located adjacent to Camp 4, shuttle stop #7
Getting To The Trailhead
During our visit ( spring of 2019) Yosemite seemed to be struggling a bit with their signage, what was there was old and worn, and of very little help. For the first time on our little cross country adventure, we actually struggled to find the trailhead.
Ok, now pay close attention, this is important…
The trail Lower Yosemite Falls DOES NOT connect you to the trail to Upper Yosemite Falls. Weird right? But this is where we went wrong, and now you don’t have to! You should, however, take the super short hike to Lower Yosemite Falls to get a great view of these mammoth falls, and really appreciate how far you have or are going to have to hike to get to the top!
The trailhead to Upper Yosemite Falls is located directly next to Camp 4, just a few minutes beyond Yosemite Village proper. If you’re driving your own car there is some limited parking spaces directly next to the trailhead, but given the crowds don’t bank on snagging one of these coveted spots. Your best bet for easy access is to park in one of the many lots in Valley Village and catch the shuttle bus to stop number 7 at the base of the trail.
Stops On The Way To The Top
If you’ve made it this far and you’re thinking to yourself that maybe a hike all the way to the top of the falls might not be for you, no worries… there are several stops along the trail that provide amazing views, and don’t require you to go all the way to the top.
Psst… there’s also one bonus stop past the top listed below for all you overachievers out there!

Columbia Rock- This marks the first real stop along the trail, and the views are spectacular! It’s important we lay out this disclaimer, however- getting to this point is still no cakewalk. Columbia Rock is located roughly 1 mile and 1,000 feet of gain into this trail. You’ll have to navigate, quite a few switchbacks and some serious inclines to get here, but the payoff is a clear an unimpeded view of the valley below. No view of the falls from here though, if you want an up-close and personal view of the tallest waterfall in North America then you’re going to have to continue on to Upper Falls View.
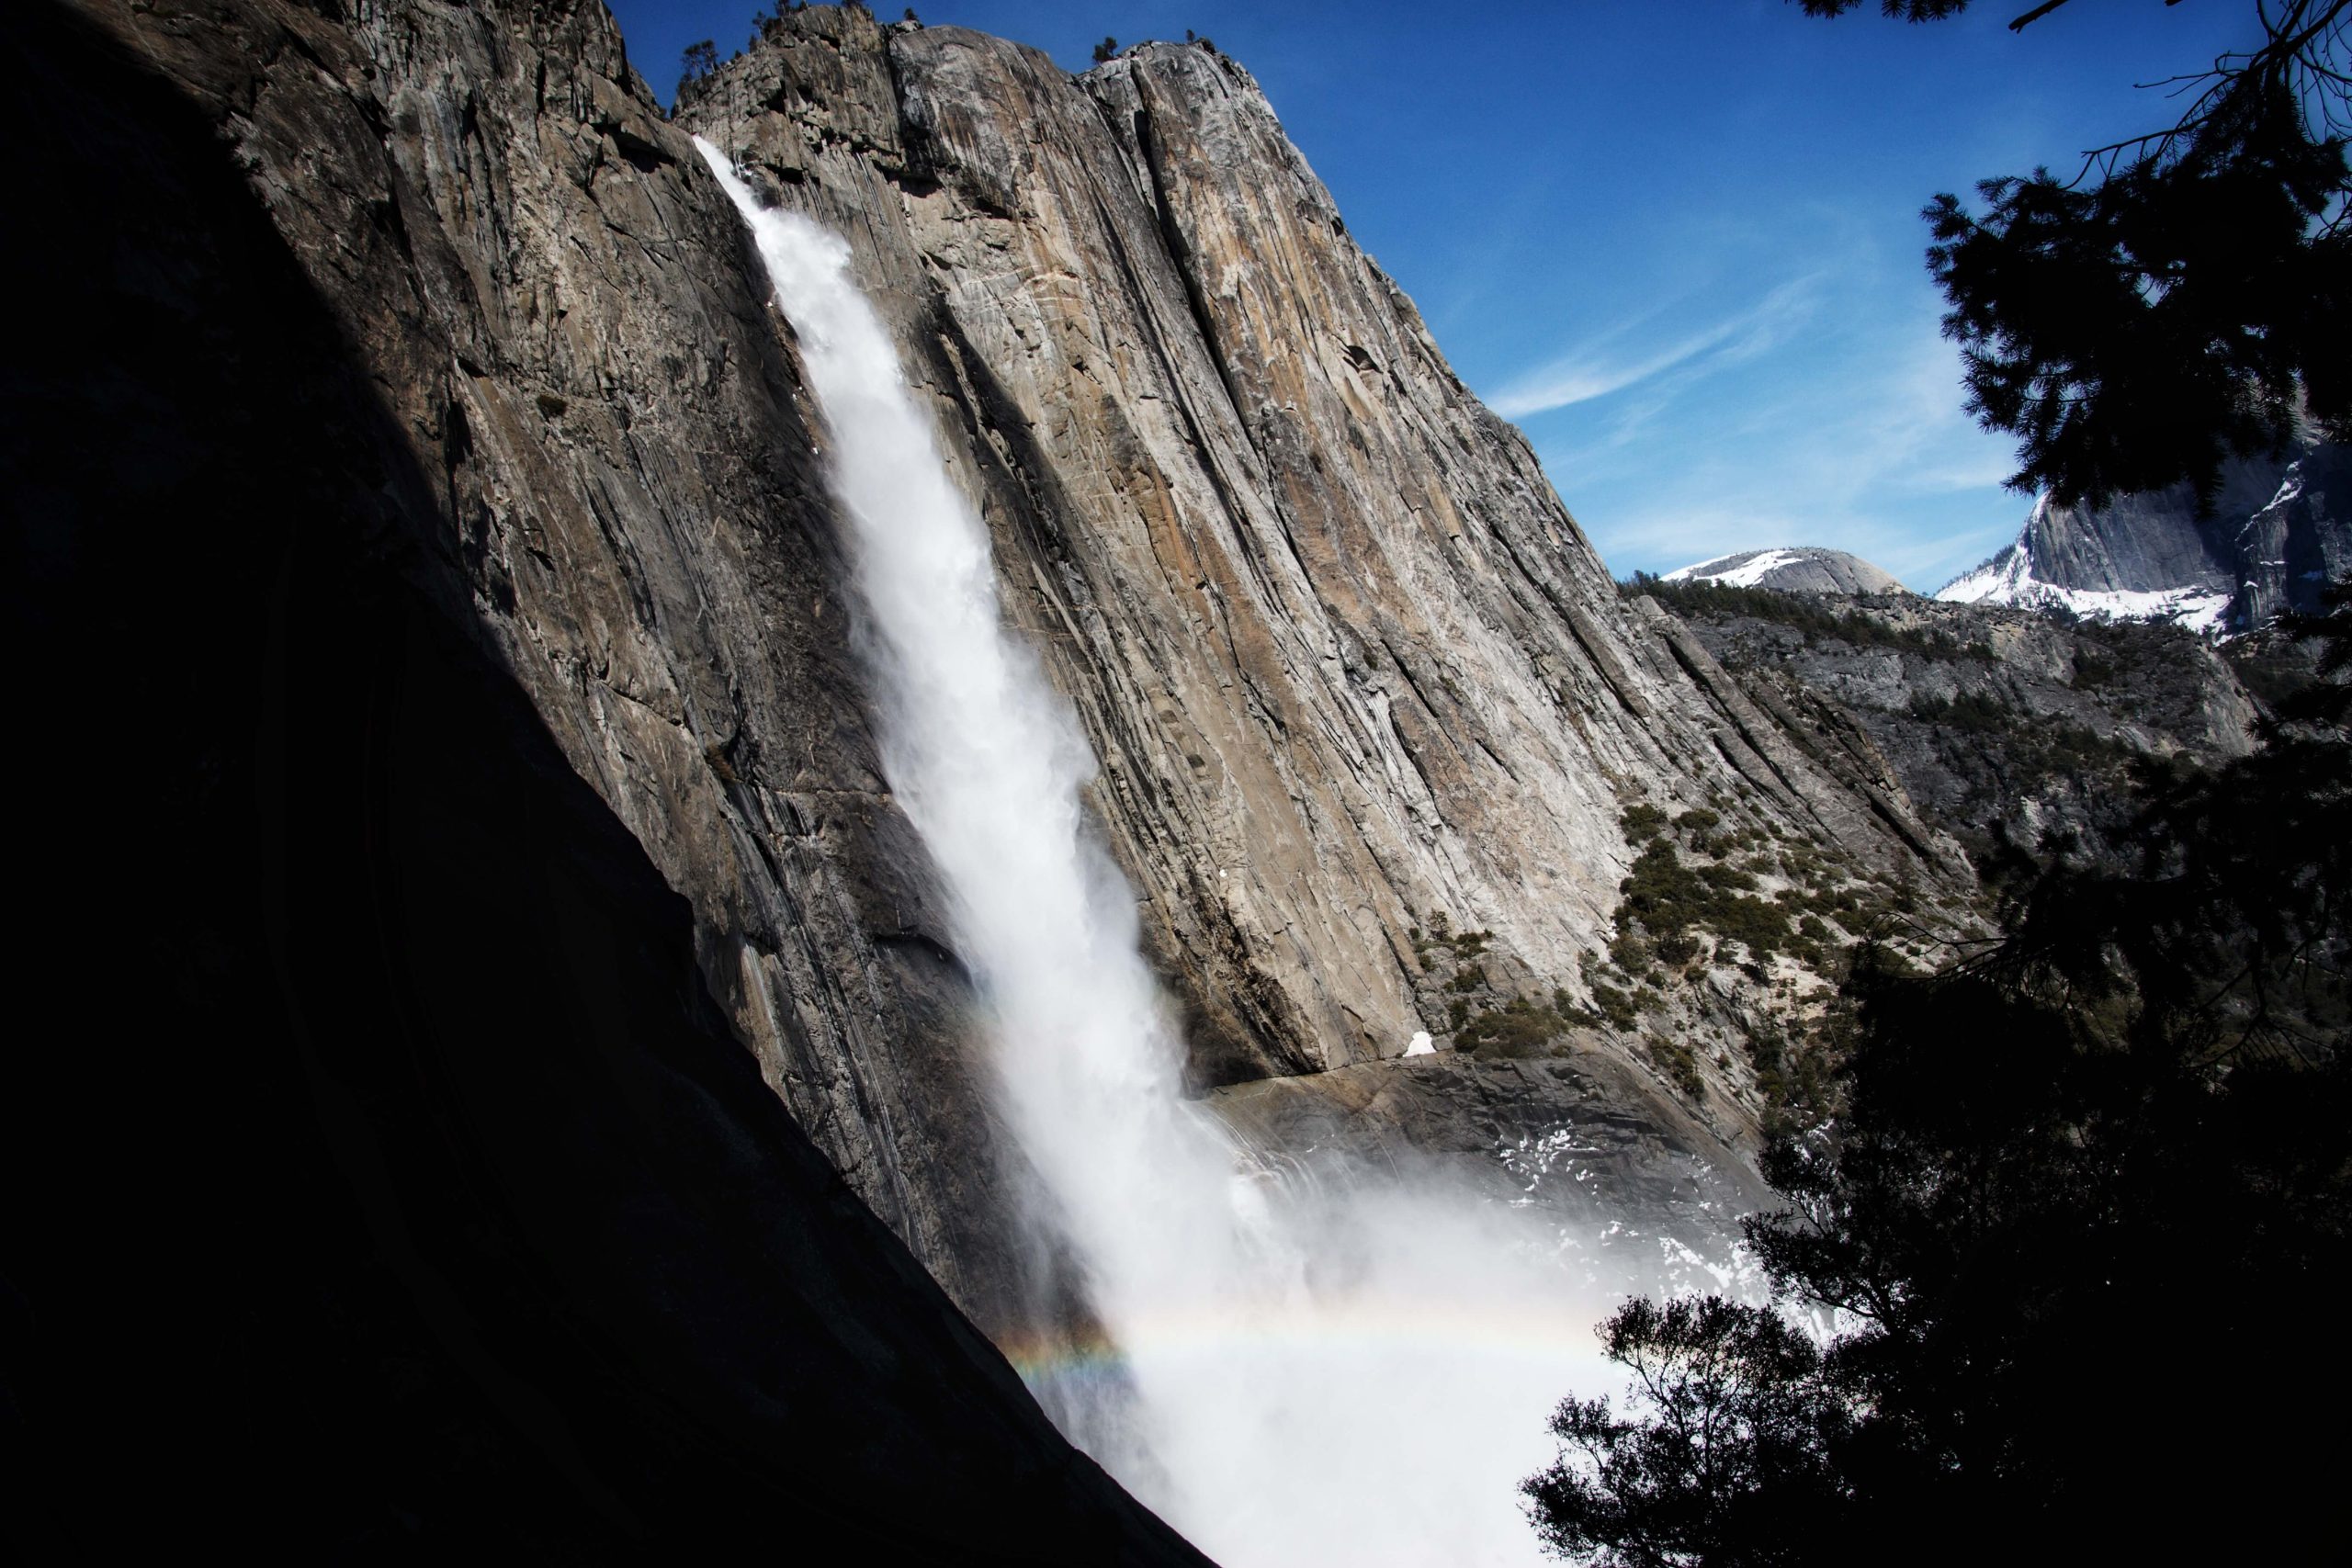
Upper Falls View- Just beyond Columbia Rock, begins the most exposed portion of the trail, climbing another 250 feet in elevation, and then dropping back down ( hurray for downhills) you’ll arrive at Upper Yosemite Falls Viewpoint. From here you can feel the spray on your face, and feel the thunder as the water from above crashes 2,425 feet down to the bottom. This stop is only another half mile past Columbia Rock, and we think it makes the perfect spot to stop and snag a snack and take in the stellar views!
Top Of The Falls– Leaving Upper Yosemite Falls Viewpoint is when things really start to get serious. If you’ve made it this far, and think the worst is behind you, think again. The switchbacks, and incline ahead are no joke. You’ve still got a little over 2 miles to the top and 1,700 feet left to climb. The trail begins to move away from the falls, takes you through dense forest, and then exposed granite stairs that in spring can be covered with water from melting snow ( or in our case, still snowcovered- that’s where traction devices come in handy) and can be extremely slippery and hazardous. Take your time if you get hurt up here its a long way to the bottom to get help.
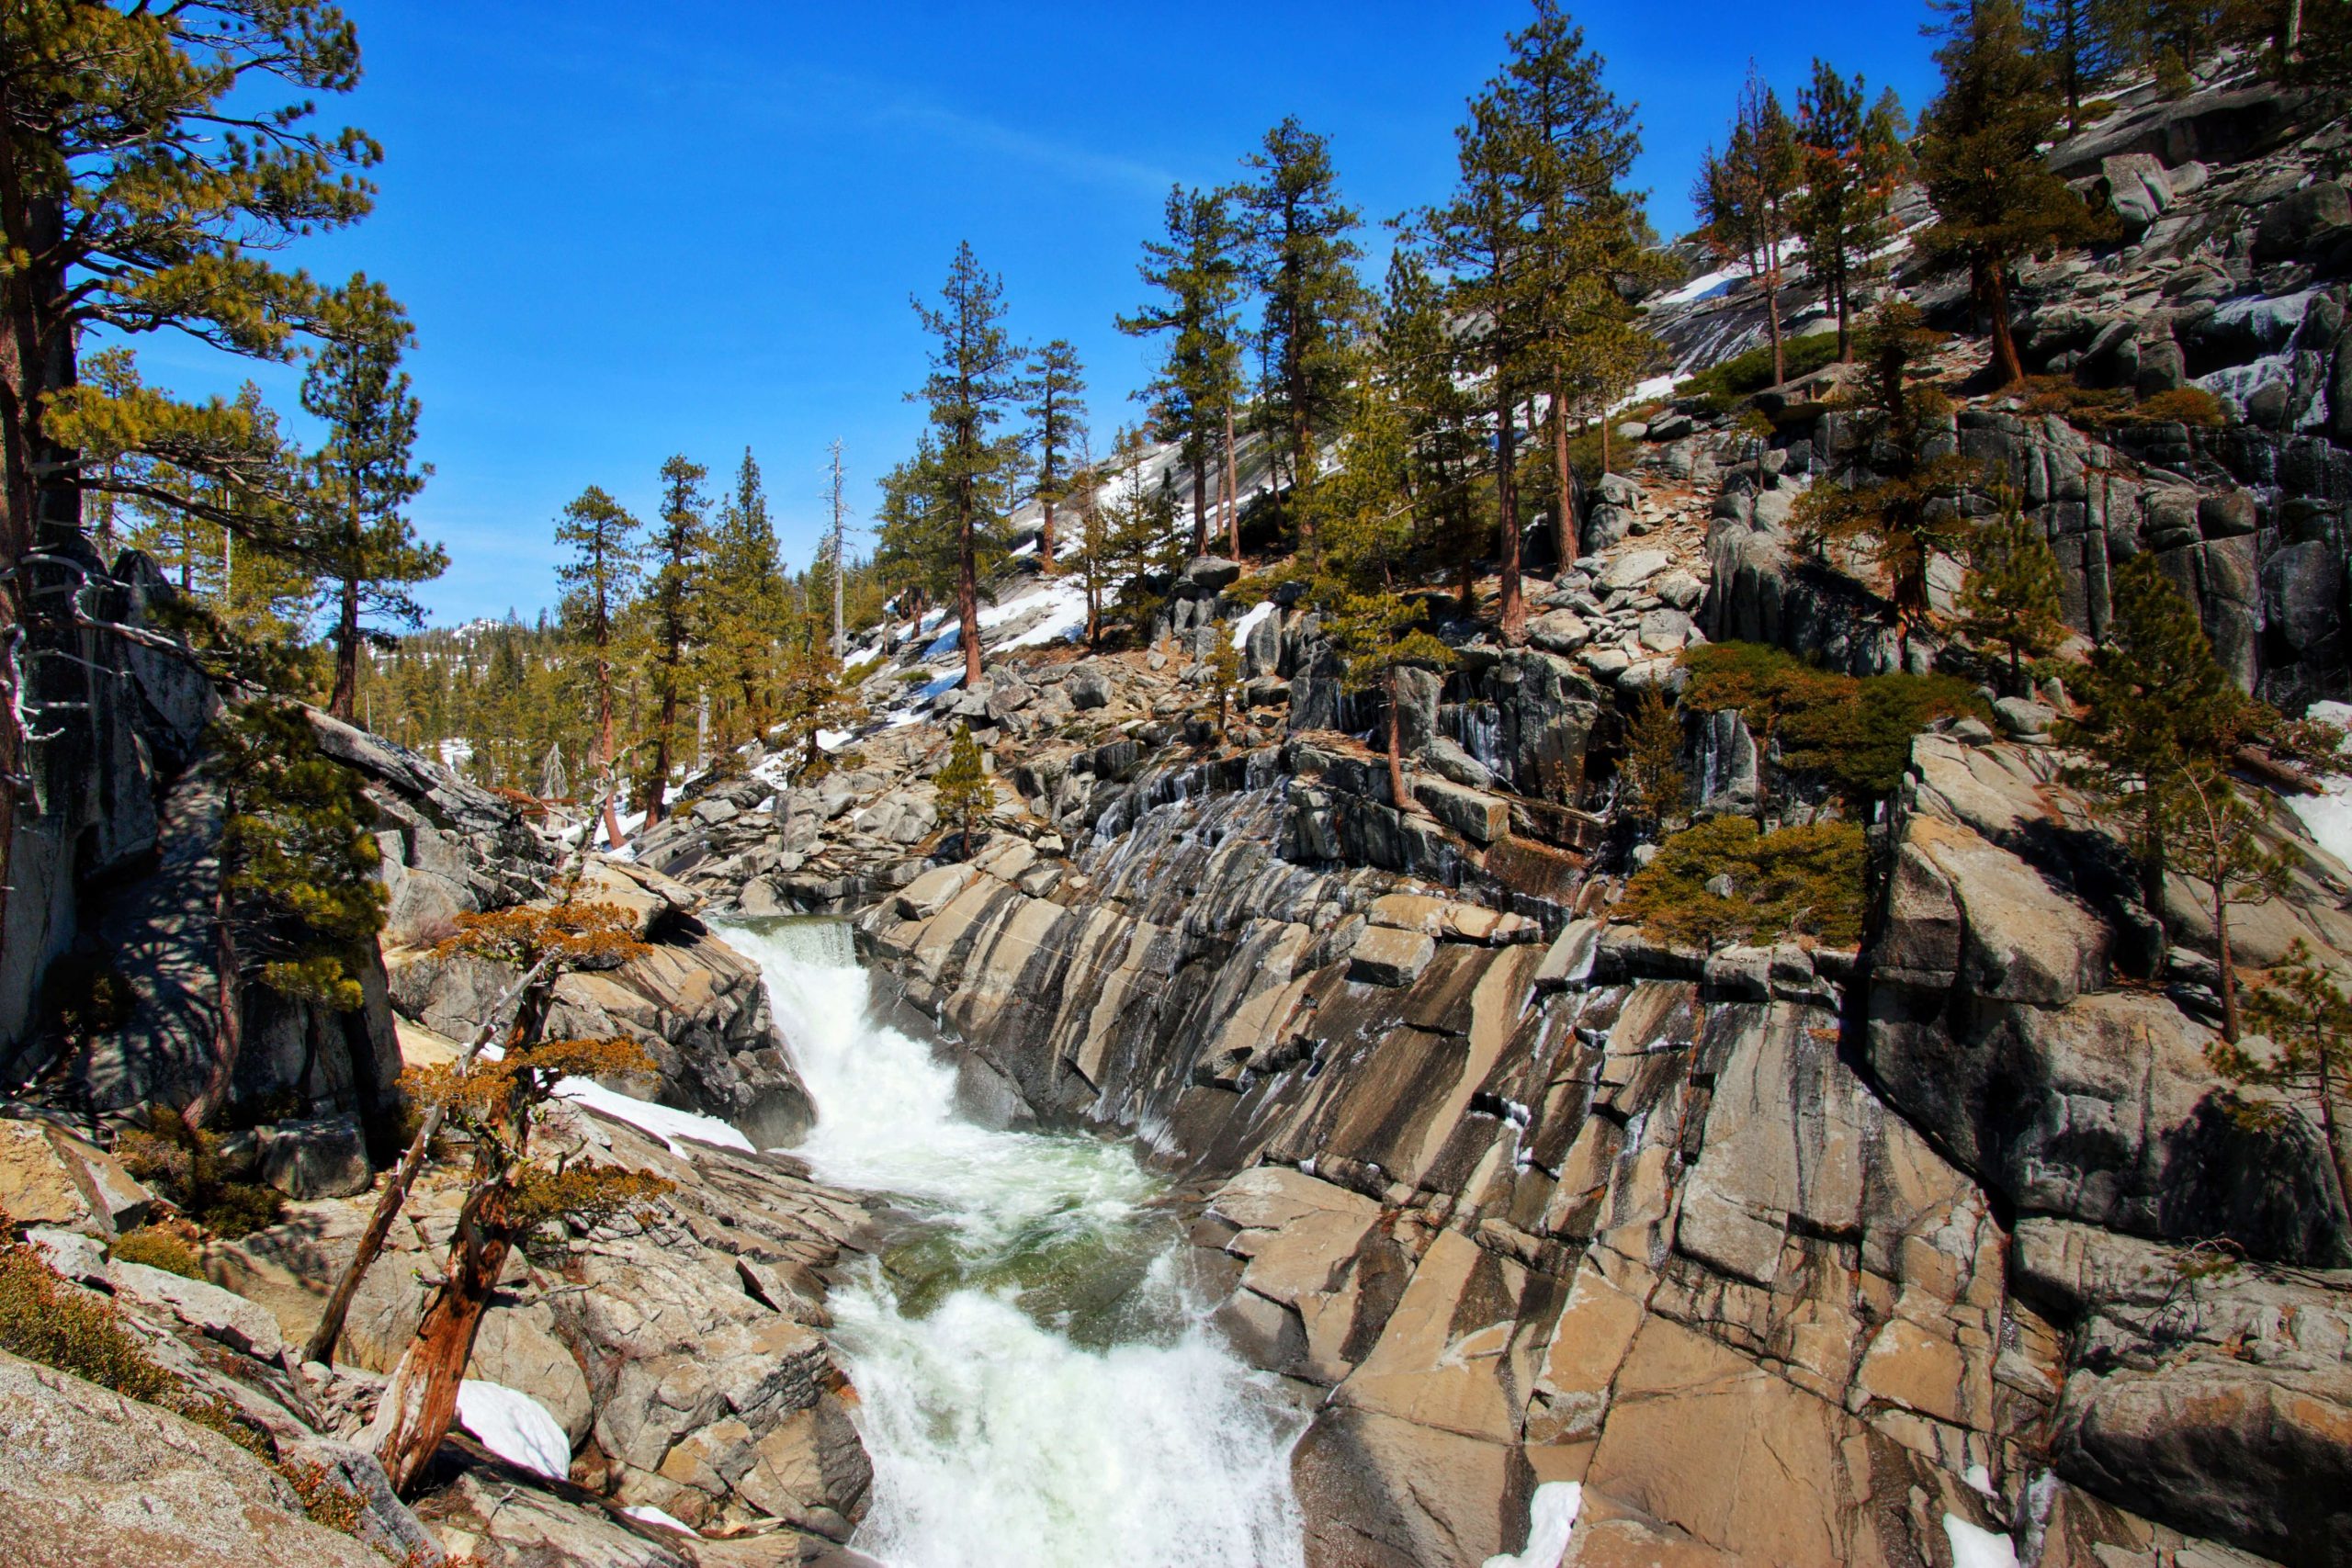
When you crest over the last little hill to climb, your calves will sigh with relief and you’re probably thinking you’re done… don’t stop once you reach level ground. Follow the trail markers to the Top of The Falls, this little narrow carved rock trail will take you down to a small platform overlooking an incredible view of the top of the falls as well as the valley below. It’s breathtaking. Mind your step and use the handrails. If you have a serious fear of heights this one may not be for you, but can still get a pretty great view of the falls without descending down the stairs.
BONUS: Yosemite Point- Still have a little gas left in the tank? Ok overachievers this one is for you! Another 1.6 miles and 500 more feet up will bring you to Yosemite Point; what is argued by many to be the best view of Yosemite Valley in the whole park.

Pro Tip: More people get suffer an injury on the way down from a serious climb or hike then they do on the way up. Just because you’ve made it to the summit doesn’t mean the hard work is over. Be mindful of your footing, and remember that you’re not done until you’re actually off the mountain.


What To Bring With You When Hiking Yosemite Falls
Water- When it comes to this trail and water too much is never enough. We can’t stress this enough. This is a long uphill trail, with lots and lots of exposed areas where the sun can bake you even on a cool day. Don’t underestimate it, like we did. Bring the water you think you’ll need and then bring a little extra. To give you an idea we each carried a 32oz Hydroflask water bottle![]() , and we ran out on the way down with about a quarter of the trail remaining. In retrospect, despite having to carry the extra weight we both should have had an additional water bladder of some type with us; that would have been more than sufficient to carry us through!
, and we ran out on the way down with about a quarter of the trail remaining. In retrospect, despite having to carry the extra weight we both should have had an additional water bladder of some type with us; that would have been more than sufficient to carry us through!
Salty Snacks- Your body is going to be doing a lot of hard work to get you to the top of this mountain. Be good to it. Stay fueled up on the trail. Be sure to pack lots of bars, and salty snacks to stop and munch on along the way! We really love Cliff Bars![]() for snacking on the go.
for snacking on the go.
Hiking Shoes- Yosemite Falls is not a place for crocs and flip flops. Be sure to wear shoes with good traction, and ankle support. Lowa hiking boots and Chacos are some of our favorites.
Sunscreen- On the mid to upper region of the trail shade becomes a commodity at best. All that exposure combined with reflective surfaces like granite and snow can add up to a gnarly sunburn. Protect yourself! Raw Elements![]() is our favorite sunscreen for adventuring.
is our favorite sunscreen for adventuring.
Raincoat- Is it weird to list a raincoat right below sunscreen? Maybe. If you watched our video on our Upper Yosemite Falls experience (which we really think you should), then you already understand how unpredictable the weather here can be!
A Camera- You don’t need to carry a fancy DSLR camera to capture a beautiful image here, but you are going to want to bring some type of photo-taking device along with you. The views from this trail are spectacular, and after all the work you’re going to put in to get to the top, you’re going to want to at least have one or two images to share and remember your adventures by! Any camera will do!
Upper Yosemite Falls is one of the harder hikes we’ve ever tackled. We want to hear your tales of tough trails! Share them with us below in the comments! We appreciate you being here and being a part of our journey!
Other Adventures In Yosemite:
- Searching For Sequoias: Where To See Big Trees In Yosemite National Park
- Hiking Hetch Hetchy: Yosemite National Park’s Best Kept Secret
Like Tough Hikes? You Might Also Be Interested In
- Zion National Park: 4 Things To Consider Before Hiking Angel’s Landing
- The Grand Canyon: The Best Hikes On The South Rim
Great views felt like i was there
Yay! So glad you enjoyed it!!! ❤️